**You can purchase the letter templates at the bottom of this post**
My girls are always in my husbands office playing with the push pins on his cork board. The other day my oldest started making some designs with them. It's always great to see their minds at work! During our next trip to the store we picked up some extra cork board and push pins. We found some in Walmart (they also have them in target).... 4 boards for $6.00. They are a little thin, so we just put two boards together. We placed a piece of white paper on top of the board for a base. My girls seem to do well with white backgrounds. It also creates a fun print when you take the pins out! I have no clue why I didn't take a picture of that (mental note to add one later). There are so many different push pins out there. We found some fun things on Amazon... butterflies, ducks, stars, etc. They haven't arrived yet, but we are excited. :-) The pictures pretty much speak for themselves..
 |
| My 3 year old adding pins. She usually HATES stuff like this. It was a big hit for her! |
 |
| My 4 year old |
 |
| Her person taking a dog for a walk. |
 |
| She always falls into such deep concentration. A perfectionist for sure! |
 |
| "I need to go put this up in my bedroom by my bed." |
Warning... have plenty of pins/cork/foam/cardboard ready. Neither of my girls wanted to disassemble their work.
 |
| My oldest made an apple tree and a flower....still a work in progress. |
 |
| My 3 year old working on the letter templates we created |
***Please see below for more information on the templates.***
 |
| Its always great when you find something both siblings love! |
WE ALSO CREATED PUSH PIN ART ON THE LIGHT PANEL USING TRANSLUCENT MATERIALS AND TRANSLUCENT PUSH PINS.
We used a frame to create a "canvas" for the light panel push pin activities. We used a cut piece of shower curtain liner for this one (Dollar Tree), but some other materials we thought might work are: a piece of tarp (the same tarp we used to make our
WATERBED), a page protector, panty hoes, or maybe even a piece of transparency paper.
Another thing to note is the depth of the frame. It needs to be deep enough to accommodate the push pins. I actually used the frame to a shadow box here.
 |
| wrap frame with chosen material |
 |
| use a staple gun to affix material to frame |
 |
| ready to go |
 |
| The invitation - including transparent push pins as well as a new twist - sewing push pins with beads. |
 |
| open ended push pin art |
 |
| a truck |
 |
| a better view of the sewing push pins through beads |
 |
| our push pin circle sheet letters |
There are several options to stick the pins in. After we ran out of cork board I searched the garage. Any cardboard box will do.
 |
| A soda case box |
 |
| An old postal box |
Since my girls loved this activity and LOVE their sticker circle sheets that you can see
we decided to create new templates for the push pins.
The document is 27 pages in length and includes the following:
UPPER CASE LETTERS:
LETTER/NUMBER SEARCH:
 |
| For this sheet, you write in the letters and numbers and create the KEY at the bottom. |
LOWER CASE LETTERS:
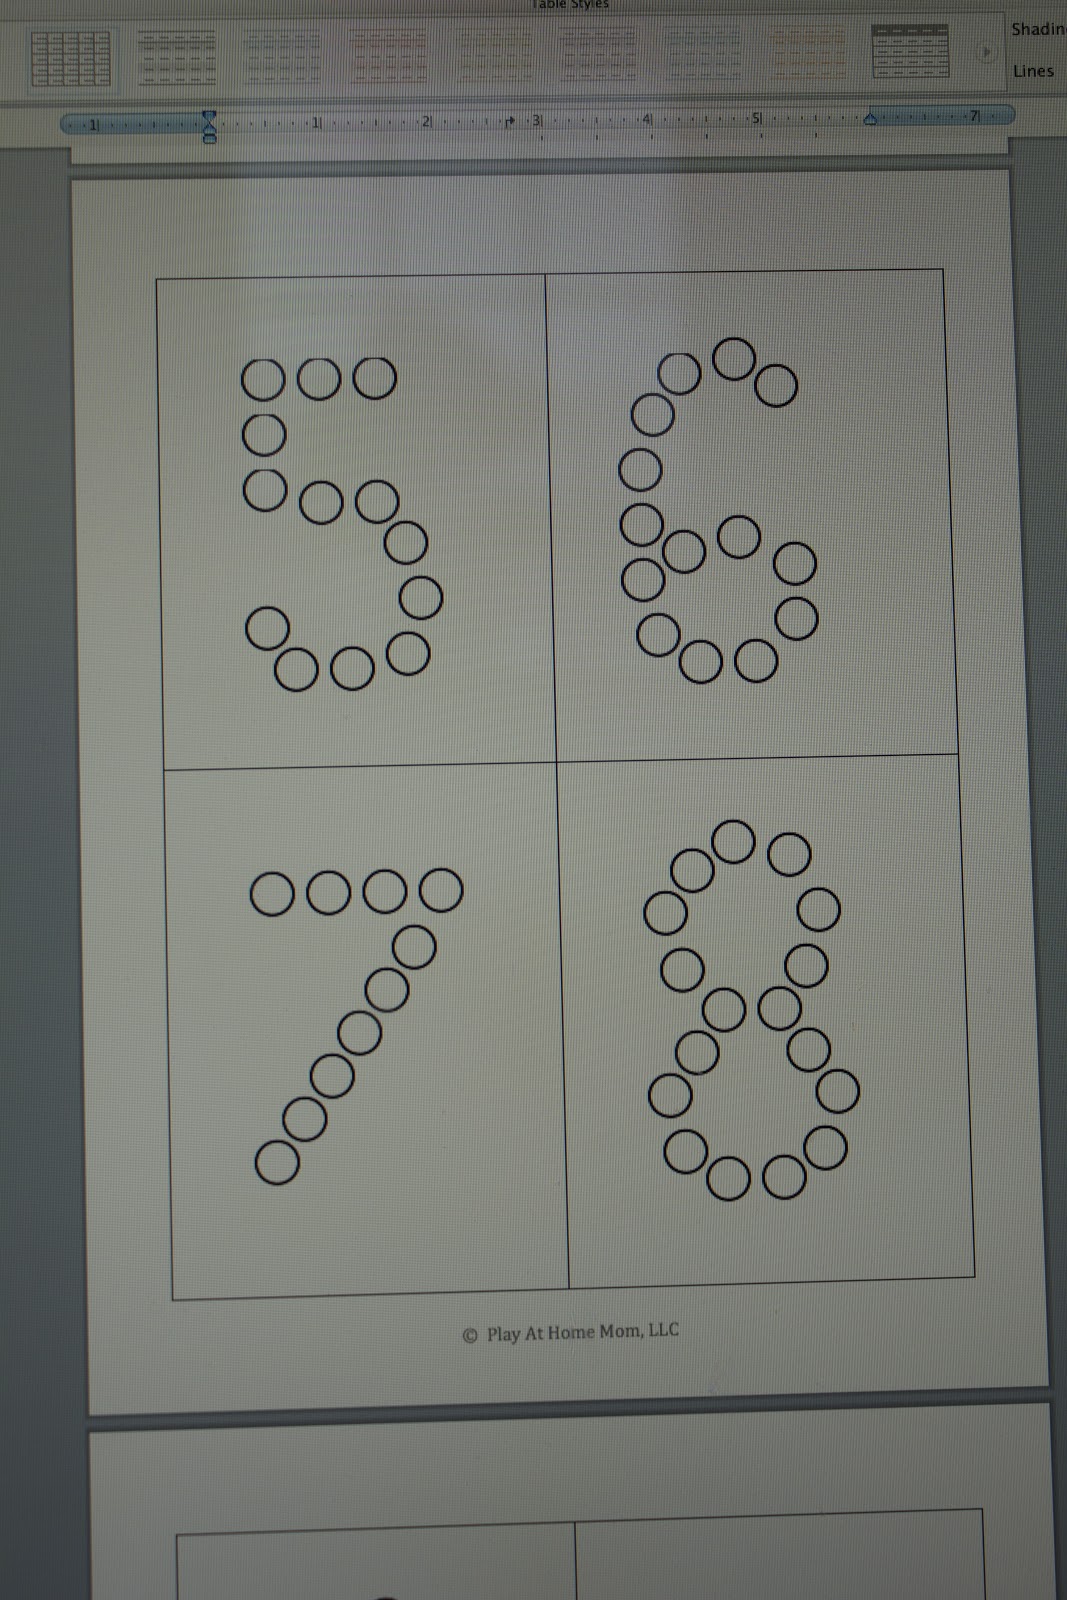
NUMBERS 1-10:
COUNTING SHEETS 1-20
SHAPES:
BLANK SHEET FOR PATTERNS, DESIGNS, CREATIVITY:
COLOR MATCH:
The templates also work great with Q-tip painting....
and finger painting.
You can also make a busy book.
These are wonderful for a road trip, a gift for a new mommy with older children, or just to keep handy to pull out if you need to cook dinner, take a shower etc.
The book above contains both the push pin document and our
letter/number templates. I added Q-tips, paint, label stickers, and I am going to add a bingo dabber as well.
The total price for the document is $5.00
It will be emailed to you from ejunkie and you will be able to download it instantly.
To add Push Pin document click on the Add To Cart Below.
This document will work with push pins and Q-Tip painting

To add the Letter/Number Template click on the Add to Cart Button Below
This document will work with Label Stickers, Bingo Dabbers, Bingo Chips, etc.
You have read this article Clay and Crafts /
Documents /
Letters/Numbers
with the title March 2013. You can bookmark this page URL http://happychild2210.blogspot.com/2013/03/getting-creative-with-push-pins.html. Thanks!