I saw this done in this month's issue of Women's Day Magazine.
Materials:
Empty glass jars
Scissors
Orange tissue paper
Decoupage glue
Black construction paper
Measure strips of tissue paper and cut to fit the size of jar. Brush glue on a small section and adhere tissue paper. The article said to dilute the glue to 3 parts glue, 1 part water. We just winged it. We overlapped a little bit. Cover the outside of the jar and let dry. Cut out shapes in black construction paper and glue onto the jar. Apply glue to entire jar to seal and let dry over night. Article said to place battery operated votive candles in but we just used real tea lights.

All ready

Cutting her paper

My 19M old could care less about this one.
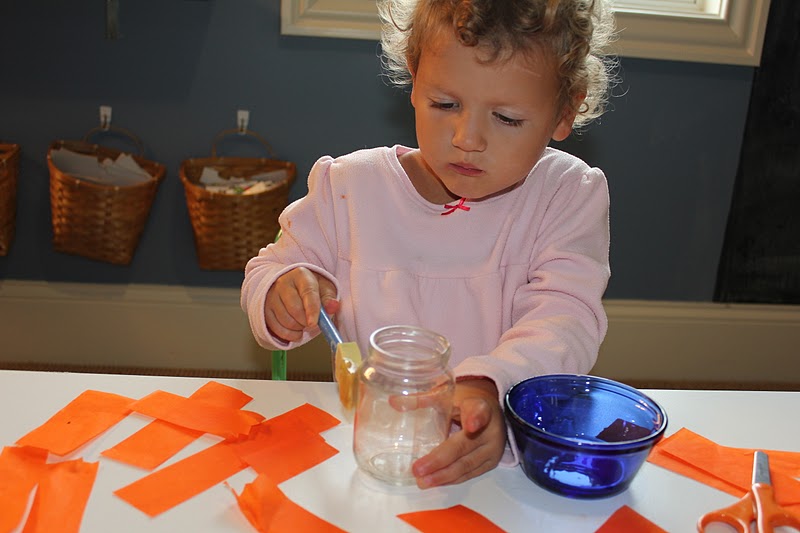
Applying glue

Still working away on her playdough. LOL

Oldest takes a break to play, too.

Back to the candles

Picking glue off the fingers was fun, too!

Cutting off the excess. She is very meticulous!

I did the big one... oldest did the little one

I loved the way these came out, I ended up making a bunch and putting them on our mantle... all with stuff we had on hand at the house. Take that pottery barn! :-) My daughter's candle is on the far left. She decided to use orange construction paper for her design so it didn't show up so well... and that is OK! :-)


RL
You have read this article Clay and Crafts /
Seasonal
with the title HALLOWEEN CANDLES. You can bookmark this page URL http://happychild2210.blogspot.com/2011/09/halloween-candles.html. Thanks!


No comment for "HALLOWEEN CANDLES"
Post a Comment